Step-by-Step Guide to Installing Electrical Outlets Safely at Home

Michael Cirelli • February 25, 2025

Installing electrical outlets is a common home improvement task that many homeowners attempt. Whether you're upgrading your current outlets, adding new ones, or installing outlets in pre-fabricated structures, it's important to approach the task with caution and follow the proper safety procedures. In this step-by-step guide, we'll walk you through how to safely install electrical outlets at home, ensuring your installation is both functional and up to code.


Why Installing Outlets Safely Matters

When it comes to installing electrical outlets, safety should always be your top priority. Improper installation can lead to electrical hazards, such as short circuits, electrical fires, or damage to appliances. Additionally, most regions have strict codes that govern electrical work in residential properties, so it’s important to ensure you’re following these guidelines to avoid fines or insurance issues.


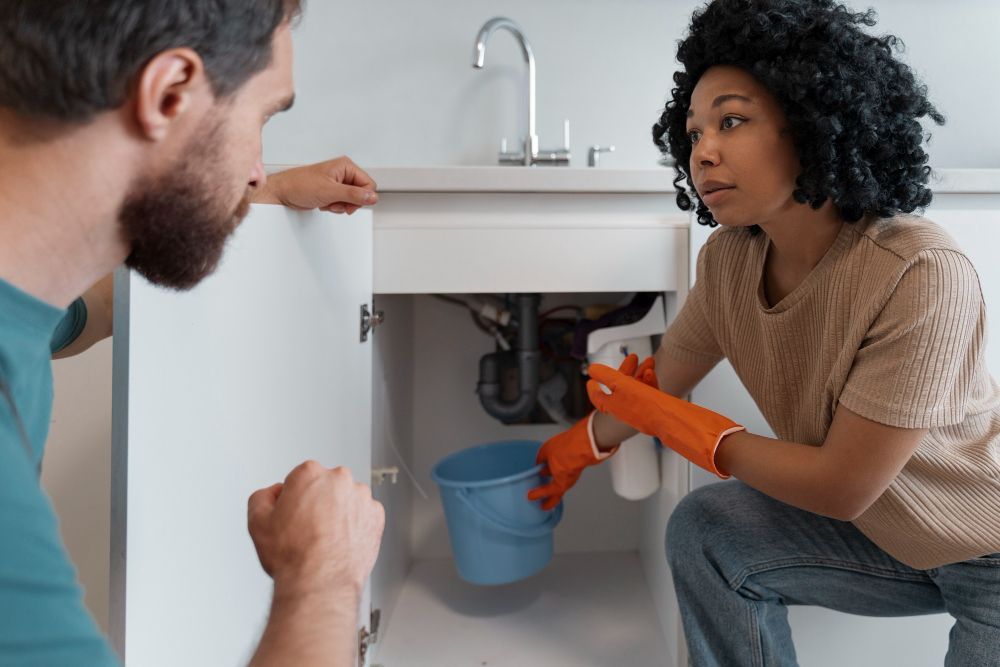
One of the easiest ways to ensure safety while Installing Pre Fabricated Structures is to turn off the power at the breaker box before you start. If you're installing electrical outlets in pre-fabricated structures, be sure to follow the manufacturer’s guidelines as well to avoid damaging any components.


Tools and Materials Needed for Installing Electrical Outlets

Before beginning the installation process, gather the following tools and materials:

  • Screwdrivers (flathead and Phillips)
  • Wire stripper
  • Electrical outlet box
  • New outlets
  • Electrical tape
  • Voltage tester
  • Wire nuts
  • Electrical cable
  • Drill and drill bits (if needed)


Step 1: Turn Off Power and Remove Old Outlets

The first step in installing electrical outlets is to ensure the power is turned off to the circuit. Go to your breaker box and turn off the power to the room or area where you’ll be working. Use a voltage tester to confirm there’s no live electricity in the existing outlets.


Next, if you're replacing old outlets, use a screwdriver to remove the outlet cover and unscrew the outlet itself from the wall. Take note of how the wires are connected to the old outlet, as you’ll need to replicate this connection with the new one. In some cases, you may be installing electrical outlets in pre-fabricated structures that already have some of the electrical work completed. In such cases, follow the manufacturer’s instructions to avoid damaging any built-in components.


Step 2: Prepare the New Outlet and Wires

Once the power is off and the old outlet is removed, it's time to prepare the new outlet. Strip about ¾ inch of insulation from the ends of each wire using a wire stripper. You’ll typically find three wires in your outlet box: a hot (black), neutral (white), and ground (green or bare copper).


Step 3: Install the New Outlet

Now it’s time to install the new outlet. Start by connecting the wires to the corresponding screws on the outlet. Once all the wires are securely attached, gently push the outlet into the box, ensuring that the wires aren’t pinched. Secure the outlet to the electrical box by tightening the screws.


Step 4: Test the Outlet

Before you finish up, it’s essential to test the new outlet. Go back to your breaker box and restore power to the circuit. Plug in a simple device, like a lamp or phone charger, and check if it’s working properly. If there’s no power, you may need to recheck your wiring to ensure all connections are correct.


Step 5: Final Inspection

Finally, ensure that everything is securely in place. Inspect the installation for any loose screws or wiring, and check that the outlet cover is firmly attached. If you're working with Installing Pre Fabricated Structures, follow any additional instructions from the manufacturer to ensure the installation is done correctly.


Conclusion

Installing electrical outlets is a rewarding and straightforward task that can help enhance the functionality of your home. Whether you're upgrading existing outlets or installing new ones in pre-fabricated structures, following the proper safety protocols is key to ensuring your installation is both safe and effective. 

By Michael Cirelli March 24, 2025
Prefabricated construction installation halves building time. Jersey Shore Handy Heroes offers this clever approach right for your house or company.
By Michael Cirelli March 5, 2025
Affordable Handyman Service in South Jersey ensures your home stays in top shape without breaking the bank.
By Michael Cirelli February 27, 2025
Big or small, your project is a significant investment. That’s why we recommend interviewing at least three qualified contractors before making a hiring decision. Ask the following questions to determine whether a pro is the right fit for your project: 1. Do you have the right insurance for this project? It’s important that your handyman have liability insurance. Otherwise, you may find yourself financially responsible in the case of an accident. Make sure that they have coverage for themselves and your property. 2. Who will be doing the work? Oftentimes, the person you speak with on the phone is not the person who will be performing the work. And if they are, they may work with a team of laborers and experts, and you’ll want to find out how they screen and hire these professionals. Ask about the person or team that will be working on your project. 3. Does this work require a permit? Not every project requires a permit, and the processes for acquiring the necessary permits will vary. Your handyman will be a great resource in navigating this detail. Don’t skip pulling permits to save money. It could cost you a great deal if your project isn’t up-to-code. 4. How much experience do you have with projects like mine? As much as a handyman is a Jack of all trades, don’t expect that the handyman you hired for one project will also be perfect for another. Make sure your professional has the experience necessary to complete your particular project, in order to get the highest quality work. Ask them how many times they’ve done similar work and discuss their familiarity and comfort with it. 5. How does your scheduling work? Scheduling can be an issue if you don’t have the conversation up-front. Some handyman companies have the capacity and manpower to meet deadlines in spite of roadblocks, where others will need you to be more flexible in situations where weather or emergencies change the timeline. Ask about their process for delays and changes, so that you are on the same page if and when an issue arises.
By Michael Cirelli February 25, 2025
Do you have a punch list of odd jobs building up around the house? A broken door handle here? A dented wall there? A ceiling fan that needs replacing? A handyman may be just the answer! Handymen offer a range of skills and experience that qualifies them to help with a number of common household projects — and you’ll typically spend less than $100 an hour for their services. Find Top-Rated Handymen Search Now How do handymen charge for their work? Most handymen charge for their labor using one of two methods: by the hour or by the job. A handyman typically charges about $77 per hour, according to the Angi Pricing Guide. And the typical handyman visit, which may involve multiple jobs, usually costs between $178 and $648. Smaller jobs are generally priced by the hour, plus a fee for mileage. Repair jobs are
By Michael Cirelli January 31, 2025
When things around the house start to break down, it can often be tempting to hire a professional for repairs. However, many people overlook the potential for DIY fixes that can save money and give you the satisfaction of restoring your belongings to full function. Whether it’s fixing furniture , simple repair techniques can help you extend the life of your possessions without breaking the bank. Here’s a guide to tackling some common household repairs and getting things back to working order. Fixing Furniture: Quick and Easy Repairs 1. Repairing Scratches and Dents in Wood One of the most common issues with furniture, especially wooden items, is scratches and dents. These imperfections can accumulate over time or from everyday use. Fortunately, you can repair most minor damage with simple tools and materials. How to fix it: Start by cleaning the damaged area to remove dust and debris. Use a wood filler to fill in the dent or scratch, smoothing it out with a putty knife. 2. Fixing Loose Joints and Legs Furniture pieces such as chairs or tables can lose their structural integrity when joints become loose. This can be caused by regular movement or poor assembly. Tightening or reinforcing these joints is essential for safety and stability. How to fix it: Inspect the joints carefully to identify which ones have loosened. If screws are the issue, simply tighten them with a screwdriver. For broken or missing parts, consider using wood glue or epoxy to reattach legs or supports. Fixing Broken Appliances: Simple Solutions 1. Fixing a Leaky Dishwasher Dishwashers are a staple in many kitchens, but leaks can develop over time. A leaking dishwasher can lead to water damage and higher utility bills, but most leaks are easy to fix. How to fix it: First, unplug the appliance and turn off the water supply. Check the door seal for cracks or debris, which may prevent it from closing properly. Inspect the spray arm for blockages that may affect water flow. Tighten loose hoses or replace worn-out seals to stop the leak. 2. Restoring a Fridge That Won’t Cool If your fridge isn’t cooling properly, it can lead to spoiled food and a higher energy bill. Fortunately, the issue is often something you can fix yourself. How to fix it: Start by checking the temperature settings to ensure they’re correct. Clean the condenser coils, which are located either at the back or underneath the fridge. Check the door seals for damage, as gaps can let cold air escape. If the problem persists, the thermostat or fan motor may need replacing. General Tips for DIY Fixes  1. Gather the Right Tools Before you start any DIY repair, it’s essential to have the right tools. Basic tools such as a screwdriver, hammer, pliers, and measuring tape can handle most furniture and appliance repairs. If you don’t already own these, it’s worth investing in a toolkit that includes all the essentials. 2. Research the Issue If you're unsure of how to fix a particular problem, take time to research it. Watch tutorial videos, read articles, or ask for advice on DIY forums. Many common appliance issues and furniture problems have easy fixes, and learning from others can help you gain the confidence to tackle the repairs yourself. 3. Take Safety Precautions Whenever working with tools or repairing electrical appliances, safety is paramount. Always unplug appliances before working on them, and wear protective gear like gloves and safety goggles when necessary. Conclusion DIY repairs for fixing broken appliances can save you money and extend the lifespan of your possessions. Whether you’re restoring a favorite chair or getting your fridge back to working order, these simple fixes can make a big difference.
More Posts